
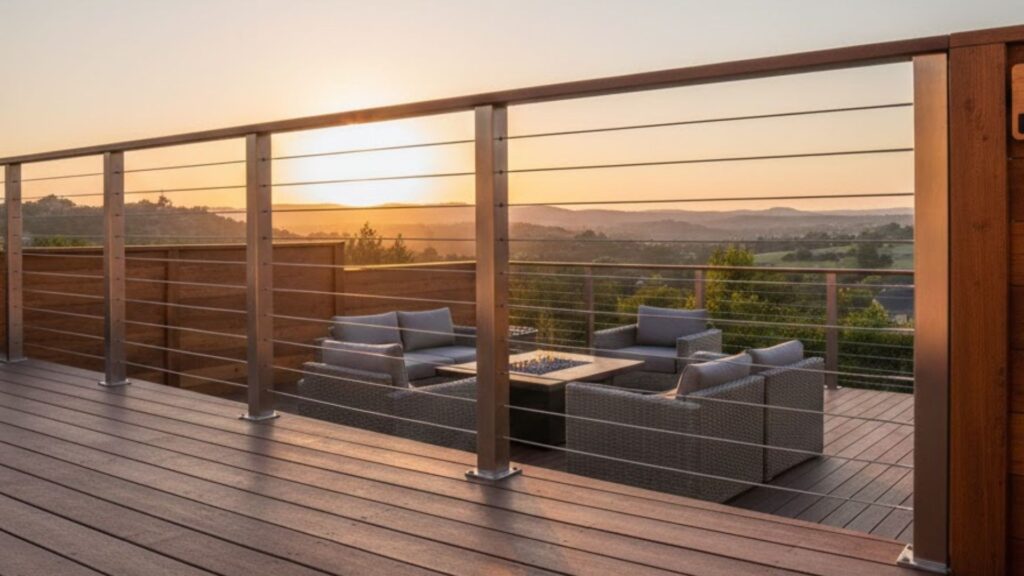
Cable railing systems have become the go-to choice for homeowners seeking a modern aesthetic that doesn’t obstruct their view. Combining durable stainless steel cables with sleek posts—often contrasting with a wood fence for deck surrounds—it creates an open, contemporary look. Learn more from Discount Fence USA today.
Planning, Permitting, and Post Preparation

Before cutting or drilling, the critical first step is meticulous planning. Measure the length and height of all railing sections and verify that your design complies with local building codes (especially the maximum 4-inch gap between cables). If you are using wood posts, they must be properly secured to the deck framing with internal blocking to withstand the lateral tension from the cables. Metal posts typically come pre-drilled, but deck and fence contractors will ensure proper placement and secure anchoring.
Post Installation and Alignment

The end and corner posts, which bear the full load of the cable tension, must be anchored securely. They should be perfectly plumb (vertical) and installed at the correct height, typically 36 or 42 inches above the deck surface, as per code. Intermediate posts, or “line posts,” are installed between the anchors to maintain the cable spacing and prevent deflection. Contractors use string lines or laser levels to ensure all posts are aligned before moving on.
Drilling and Fitting Terminal Hardware

For cable systems that do not use pre-drilled metal posts, the holes for the cable runs must be precisely drilled through the posts. Consistent spacing (often 3 inches on center) is vital for both aesthetics and safety code compliance. At the designated anchor posts, specialized tensioning and termination fittings—which anchor the cable—are installed. These can be surface-mounted or hidden inside the post for a cleaner look.
Running and Cutting the Cables

Once the framework and hardware are in place, the stainless steel cables are threaded through the intermediate posts. The cable is attached to the fixed fitting on one end of the run. It is then pulled taut by hand across the span, marked, and cut to length with specialized cable cutters to prevent fraying before the tensioning fitting is attached to the other end.
Tensioning and Final Inspection

This is the most crucial step for safety and performance. Using a specialized tensioning tool (like a wrench or turnbuckle), each cable is tightened sequentially. Professionals often start with the middle cables and work their way out, ensuring the cables are taut enough to prevent a 4-inch sphere from passing through and that the posts remain plumb. A final inspection verifies that all fittings are secure and the entire railing system is rock-solid.
A professional cable railing installation offers a sophisticated, low-maintenance safety barrier that dramatically improves your deck’s appearance. Contact Discount Fence USA today.